
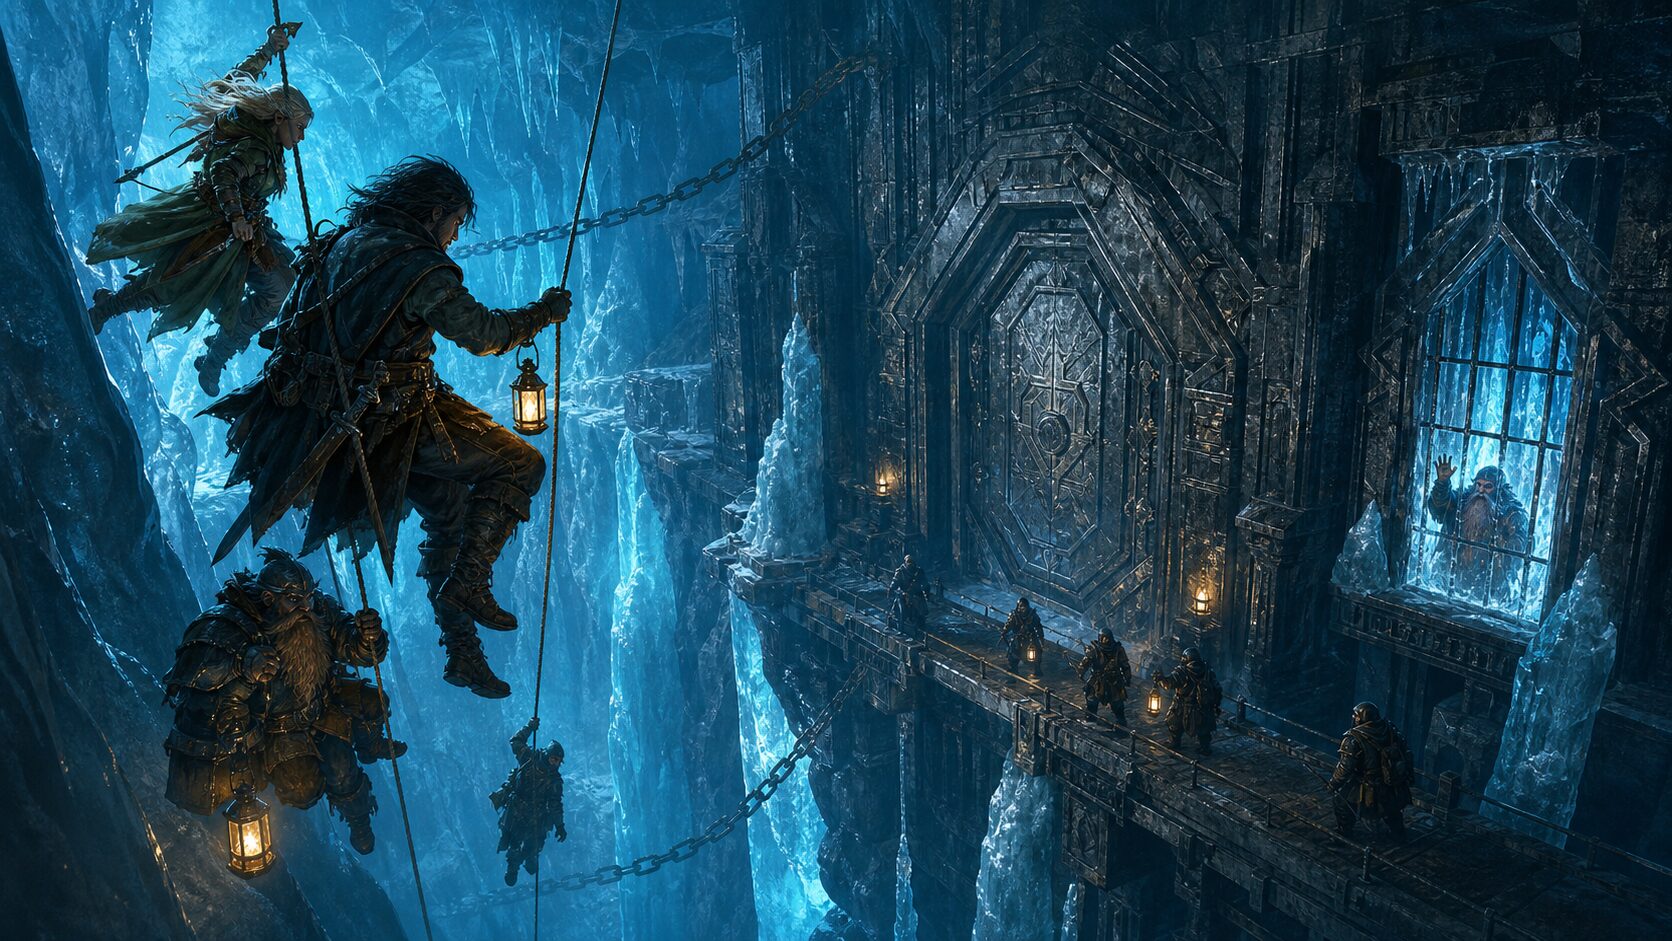
Adventure Summary: A one-session rescue-heist for four to five 5th-level characters. The party must infiltrate a dwarven vault beneath a glacier, free a captured archivist, and recover the Stormglass Key before rival treasure hunters use it to unleash a buried tempest. It stands alone or continues directly from The Frostline Beyond the Pass.
Overview
Warm winds have begun cutting through the Frostline, opening a crevasse beneath the old survey road. Inside lies Kharum-Zek, a sealed dwarven repository known as the Stormglass Vault. A rival expedition called the Ashen Picks entered first, kidnapped the archivist Bruni Coalvein, and barricaded the approach. Their leader intends to steal the Stormglass Key, an artifact built to contain the force of mountain storms.
The characters have one night to enter unseen, rescue Bruni, secure the key, and escape before meltwater floods the complex. Fighting through every room is possible, but stealth, deception, timing, and careful use of the environment offer safer paths.
Background
Centuries ago, dwarven stormwrights trapped lightning inside blue crystal and used it to power mountain beacons, lifts, and sealed gates. When unstable experiments caused a deadly cave-in, the clan locked its research inside Kharum-Zek. The Stormglass Key became both the vault’s master key and the regulator that kept its largest crystal dormant.
Optional sequel: If the party completed The Frostline Beyond the Pass, the grounding of the Thunder Beacon melts the ice concealing Kharum-Zek. Orla Deepmark recognizes the snowflake seal on the exposed door and asks her rescuers to investigate. The restored shard of the Hammer of Grondar vibrates near the vault and grants advantage on the first check made to operate its dwarven mechanisms. Snik Vell can also return as a nervous guide who knows where the Ashen Picks established their surface camp.
For a standalone adventure, Thrain Ironfist hires the party after Bruni’s raven arrives carrying a broken lock pick and a strip of gray cloth. He offers 500 gp for Bruni’s safe return and warns that nothing stored in the vault should leave dwarven custody.
Characters
- Bruni Coalvein: A sharp-tongued dwarven archivist who knows the vault’s mechanisms. She has already loosened one bar in her cell and refuses to leave without the plans.
- Veyra Soot: Leader of the Ashen Picks. Calm, prepared, and convinced that forgotten dwarven inventions belong to whoever can use them.
- Pell “Three Knives”: Veyra’s suspicious scout captain. He patrols predictable routes but tests every disguise with a coded phrase.
- Thrain Ironfist: The quest giver in either version. He values Bruni’s life above the key, though clan elders pressure him to claim otherwise.
Setting
Kharum-Zek hangs inside a blue-ice cavern beneath the Frostline. Its black-stone chambers are joined by chain bridges and narrow galleries above a meltwater chasm. Lantern light can be seen through walls of clear ice, sound carries far, and water rises ankle-deep at the start of the adventure. After each major scene, the water rises another foot and changes available routes.
The Ashen Picks number twelve but are spread across the complex. They wear gray climbing cloaks with brass pick badges. Characters who acquire a cloak and badge gain advantage on Charisma (Deception) checks against distant or distracted guards.
Plot Outline
The party chooses an entry route, crosses the guarded chasm, locates Bruni in the flooded archive wing, and learns that Veyra is already opening the Lock Chamber. The characters must decide whether to rescue Bruni first, race for the key, or split up. The final scene combines a negotiation or confrontation with a collapsing escape through the meltwater tunnel.
1. Choose the Entry
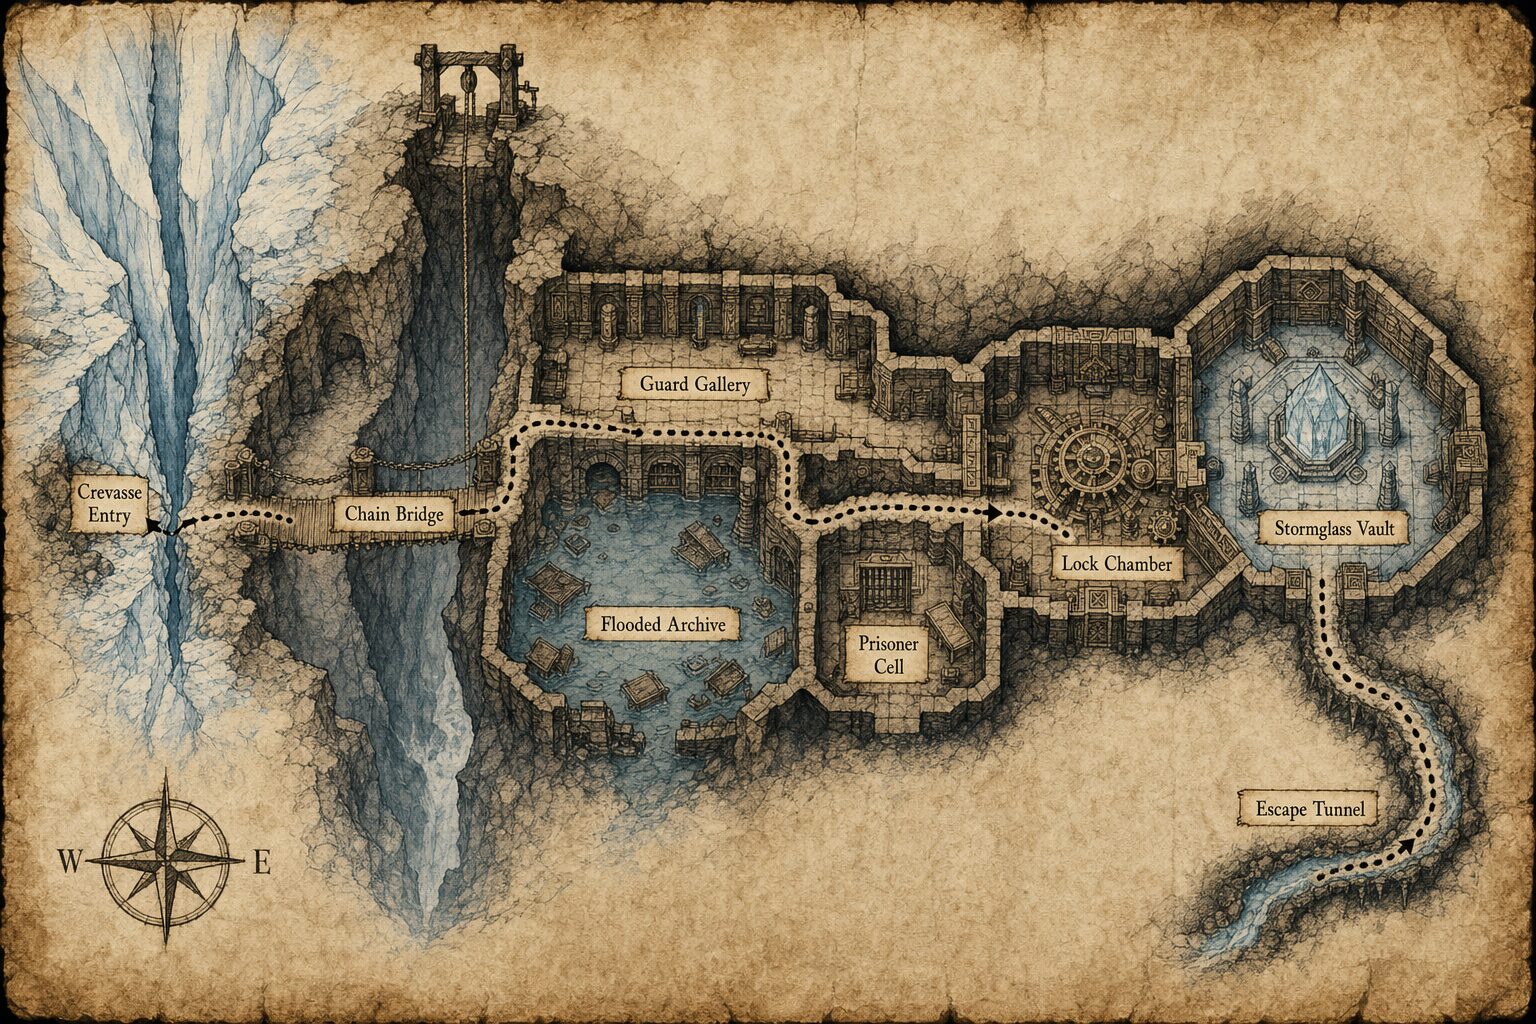
Crevasse rappel: The direct route requires two DC 13 Strength (Athletics) or Dexterity (Acrobatics) checks. A failed check costs 1d6 bludgeoning damage and alerts one guard. Ventilation shaft: A Small creature can crawl through, or the party can remove the grate with a DC 14 Dexterity check using thieves’ tools. Ashen Pick disguise: Stealing uniforms from the surface camp requires a DC 13 group Dexterity (Stealth) check but allows the party to walk onto the chain bridge.
2. Cross the Chain Bridge
Two bandits and one veteran control the bridge from the Guard Gallery. The winch can retract the bridge in three rounds. Characters can bluff past with a DC 14 Charisma (Deception) check, climb beneath it with DC 13 Strength (Athletics), or create a distraction by releasing a suspended ore cart. A loud fight causes Pell to move two additional guards toward the Prisoner Cell.
3. The Flooded Archive
Hundreds of stone tablets stand in partially submerged racks. Searching for Bruni’s cell key takes three successes before two failures using DC 13 Intelligence (Investigation), Wisdom (Perception), or Strength (Athletics). Each failure raises the water and awakens a lightning-charged ochre jelly clinging beneath a shelf. The creature uses normal statistics but deals lightning instead of acid damage.
Bruni can be freed with the key, a DC 15 thieves’ tools check, or by bending the loosened bar with a DC 16 Strength check. She reveals a concealed service passage to the Lock Chamber and insists on retrieving a watertight case of vault plans. Leaving the plans behind saves ten minutes but reduces Thrain’s reward by 100 gp.
4. The Gearwork Lock
The circular door has three rotating rings marked with mountain, cloud, and hammer runes. The correct order is revealed by clues on the map and Bruni’s plans: mountain below, cloud above, hammer between. Solving it requires three DC 14 checks using Intelligence (Investigation), Dexterity with thieves’ tools, or Intelligence with mason’s tools. A failure discharges 2d6 lightning damage to the creature at the mechanism and advances the flood.
5. Veyra’s Offer
Veyra Soot stands inside the vault with two veterans and the Stormglass Key half-removed from its cradle. She offers to split the treasure and release Bruni if the party lets her keep the key. A DC 14 Wisdom (Insight) check reveals that Veyra does not understand the key is regulating the crystal behind her.
The scene can end through negotiation, theft, or combat. Replacing the key safely requires an action and a DC 14 Intelligence (Arcana) or Dexterity check with thieves’ tools. Removing it without grounding the crystal begins a three-round collapse. Clever characters can persuade Veyra to help stabilize the mechanism, steal the key with Dexterity (Sleight of Hand), or defeat her without killing the rival crew.
6. Escape Through the Meltwater
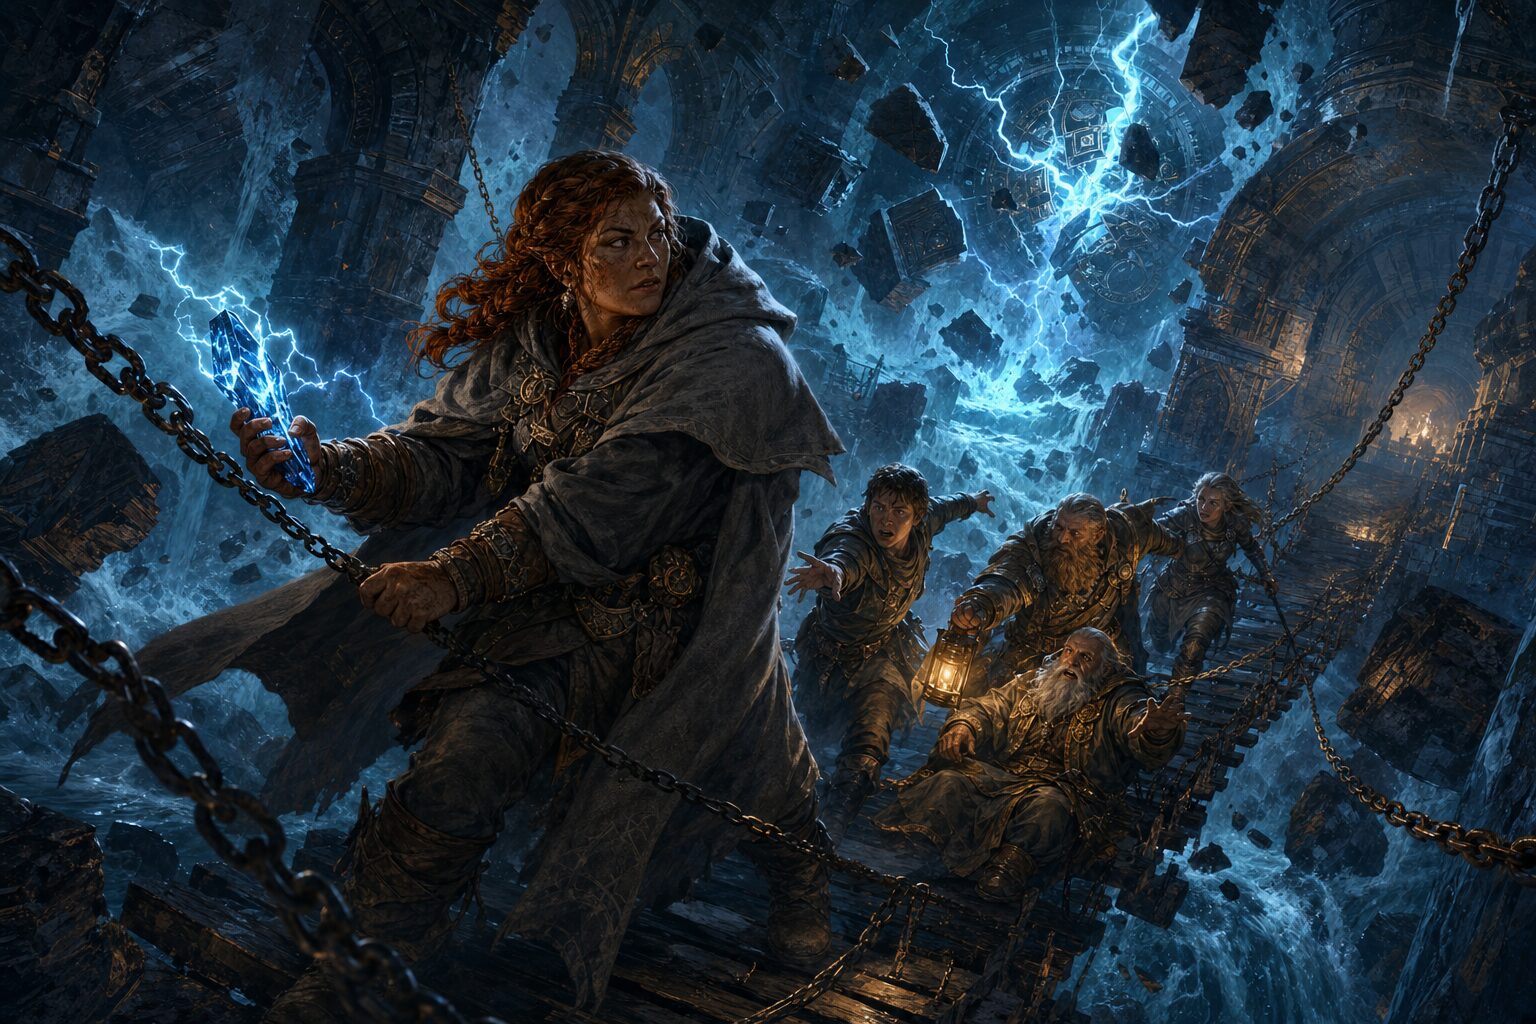
Once the vault is secured or the crystal destabilizes, the main bridge begins to fail. Run the escape as four successes before three failures. Useful checks include Strength (Athletics) to force a sluice gate, Dexterity (Acrobatics) to cross falling stone, Wisdom (Survival) to follow cold airflow, and Intelligence (Investigation) to read Bruni’s plans. Each failure deals 1d6 damage to every character; on the third failure, the party escapes but loses any optional treasure taken from the vault.
NPCs and Monsters
- Bruni Coalvein: Scout statistics, AC 13, HP 16, handaxe +4 (1d6+2), advantage on checks involving dwarven mechanisms.
- Veyra Soot: Veteran statistics with 52 hit points, no heavy crossbow, and thieves’ tools +6. She surrenders at 15 hit points if offered safe passage.
- Pell “Three Knives”: Spy statistics with 35 hit points and three daggers drawn at the start of combat.
- Ashen Pick Guards: Use bandit statistics; gallery captains use veteran statistics.
- Storm Jelly: Use ochre jelly statistics, replacing acid damage and immunity with lightning.
Rewards
- 500 gp from Thrain for Bruni and the Stormglass Key, plus 100 gp if the vault plans are recovered.
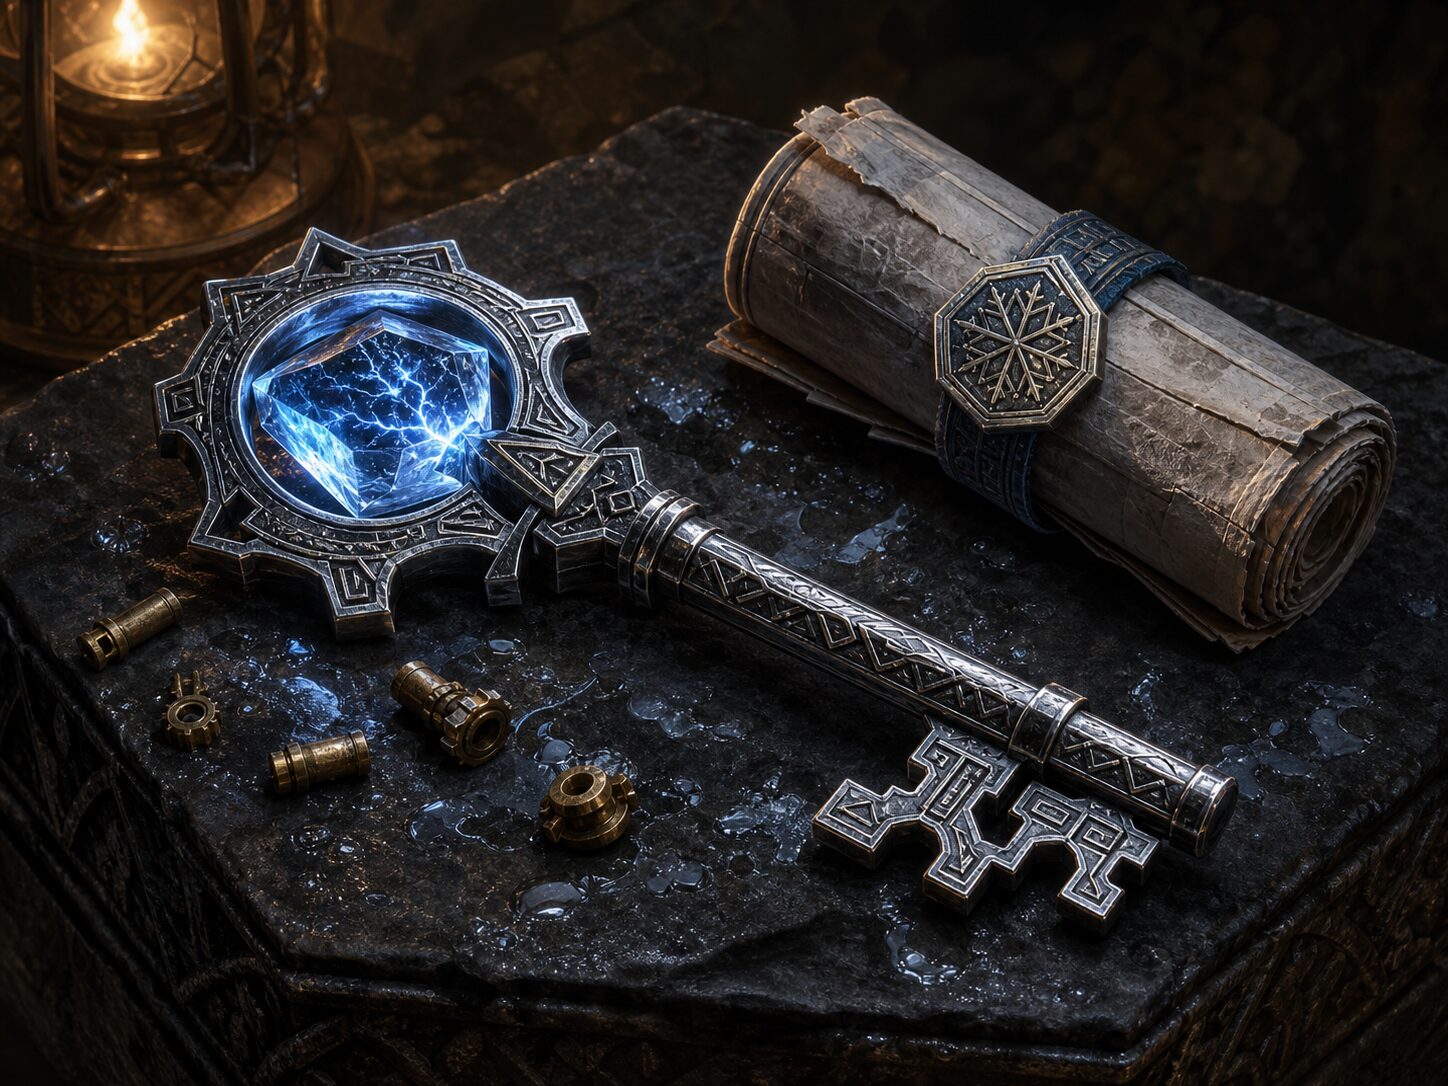
- Stormglass Key: While carrying this wondrous item, a creature has resistance to lightning damage. Once per dawn, the bearer can cast knock without material components; the spell produces a low rumble of thunder instead of a loud knock.
- Bruni’s Favor: Bruni will identify one dwarven object or provide advantage on one future check involving a dwarven ruin.
Scaling the Adventure
For a 4th-level party, replace veterans with thugs, reduce Veyra to 42 hit points, and make the Storm Jelly a gray ooze dealing lightning damage. For a 6th-level party, add one veteran to the Guard Gallery, give Veyra one use of misty step, and increase gearwork discharges to 3d6 lightning damage. For a shorter session, begin after the chain bridge and let Bruni’s cell key hang visibly in the Guard Gallery.
Vault-Themed Table Gear
Affiliate disclosure: As an Amazon Associate, The Dice Bag earns from qualifying purchases. Prices and availability can change.
- Mimic dice chest with lock and key. A fitting prop for the sealed vault and its guarded treasure.
- Medieval cryptex puzzle box. Useful for presenting the gearwork-lock puzzle as a physical table challenge.
- Dungeon and wilderness terrain encounter dice. Handy for improvising vault chambers, hazards, and discoveries.